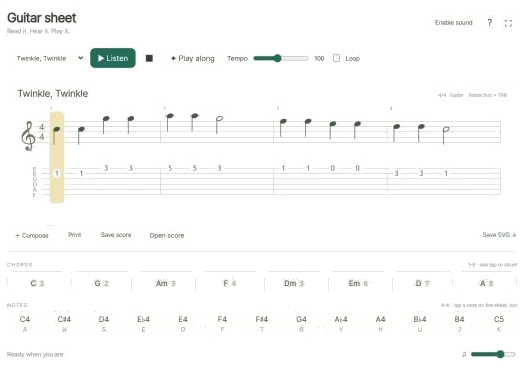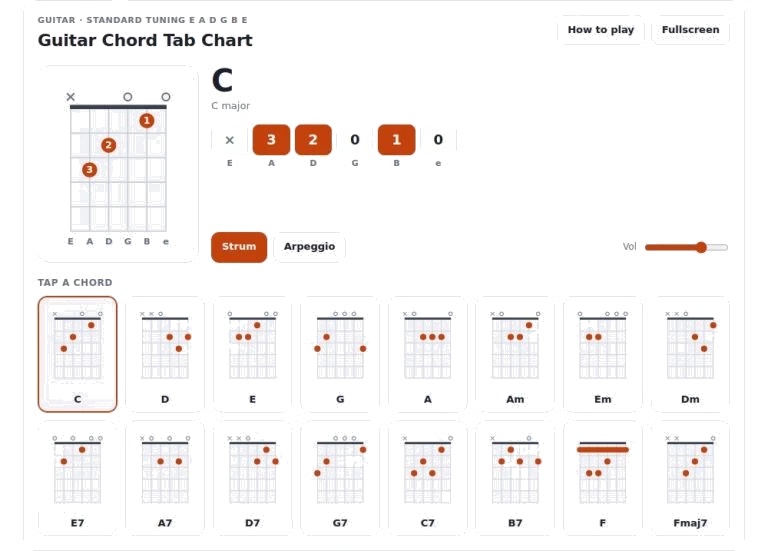
This widget displays a collection of popular guitar chords by combining audio playback with a visual diagram off the chord. As you study the chord, listen to how it sound as you see it. The widget is interactive: simply tap (or click) anywhere in interface to engage with it. There’s also the option to play and move around using your computer keyboard; no need to touch the screen. Doing this will instantly change what’s being displayed and cause the sound start playing too.
A big diagram of the chosen chord appear at the top. The horizontal lines is the frets and vertical lines are the strings. Dots is where your fingers go (the number on the dot shows which finger). If there’s an X over a string, you should of mute that string. If there’s an open circle, you play the string open.
How to Use the Guitar Chord Widget
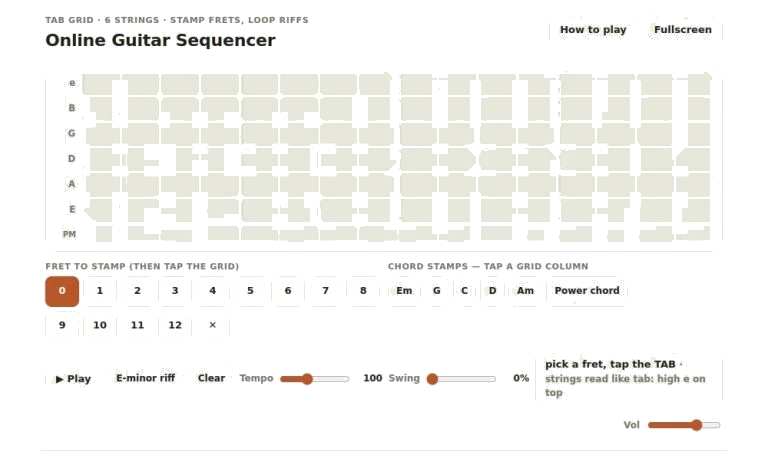
Below this diagram, information is shown in tablature as a row of boxes. The first box on the left represent the low E string, and the last box on the right represents the high e string. X indicates muted strings and the numbers denote the fret to play. The smaller grid of boxes just below main display contains other common chord such as major, minor and dominant sevenths but also barre chords including F major. Simply tap on one of these boxes and it will load in the main view. In this way, you can quickly change from one harmony to another when playing along or compare chord shapes side by side.
On the right are some audio control buttons below the diagram. The Strum button will play the sound of all strings at once. It’s used to listen to the chord ring-out as a whole. The Arpeggio button plays the arpeggio of the chord one note after another from bass upwards. This allows you to pick out each tone of the strings and get an idea of what makes up the harmony. There is also volume slider so that you can set the loudness of the playing to suit your headphone or room.
The shortcut keys allows rapid cycling between the chords. Press the right arrow key to move forward in the list and the left arrow key to move backward. Strumming the current chord happens when hitting the spacebar. That’s useful for keeping your hand on the keyboard while navigating.
For those wanting to use more screen space, there’s an option to switch into full screen mode (F). It will expands the widget to fill more space on the screen. To open a help panel containing a quick reference guide to the controls and how to read the diagrams, just hit question mark.
I am experimenting with various voicings that appears in the grid for you. Even though you will have similar chord shapes, the notes themselves is different. For instance, A major and A minor have quite a lot of the same fingers in the exact same place, only differing by one note. This is where listening to the arpeggio version may be more revealing then the full strum. Also, why not play along with the strums at varying speeds? If you find yourself losing track of which strings are playing, use visual tab row as a guide.
It adapts to light/dark mode so that colours will change according to the OS preference and keep things legible whatever your chosen background colour may be. In full screen mode it’s especially nice because you’re not distracted by any other elements of the webpage (or you might be showing this on a projector). Navigation with spacebar is also available. Press an arrow key to skip forward or backward through chords. Press space again while on desired chord to play it.
For example, choose a common chord such as G or C major and begin to play around with it. Hear what it sounds like in the Arpeggio mode and then in the strum mode to see how the tool plays this out. You will be presented with shapes that you can scroll through using the keyboard arrow keys to find the ones you wish to learn and practice. Listen for the audio confirmation of what you expect to hear but also use the visual clues to remind you what should be happening. Spend some time getting used to each position and identify where your fingers are on the representation of the fretboard. The idea here is to fill the space between what’s on a chart and what it sounds like.
A note regarding this: although it may be helpful, you don’t actualy need a guitar for the learning experience. Having one handy will, however, assist with applying what you hear from the device to your hands. String and fret numbering are well labelled; there’s no doubt where each string should go. Because it’s an interactive system, the learning remains interesting, whether you’re revising established forms or mastering new ones. Get stuck in and try playing them out to see how they fall under your fingers.