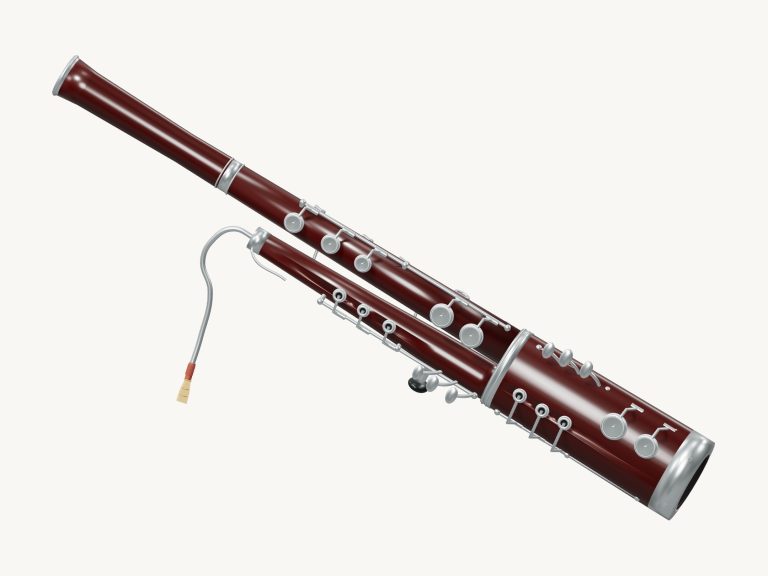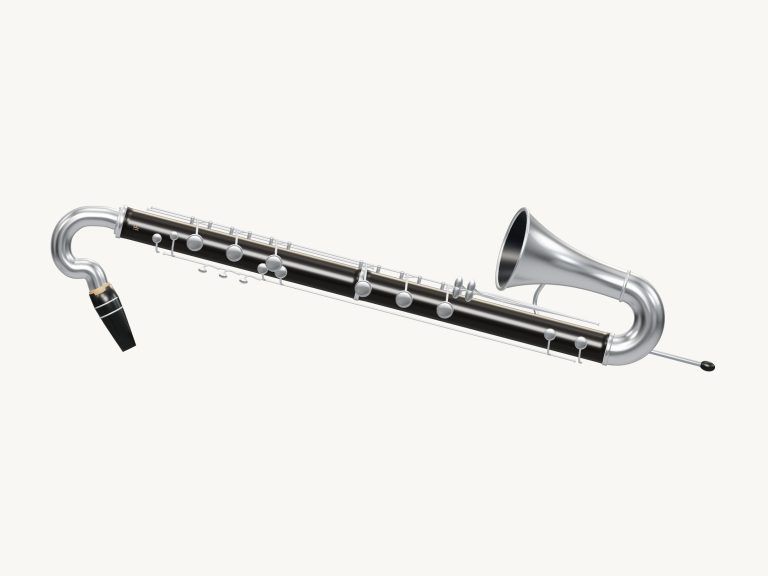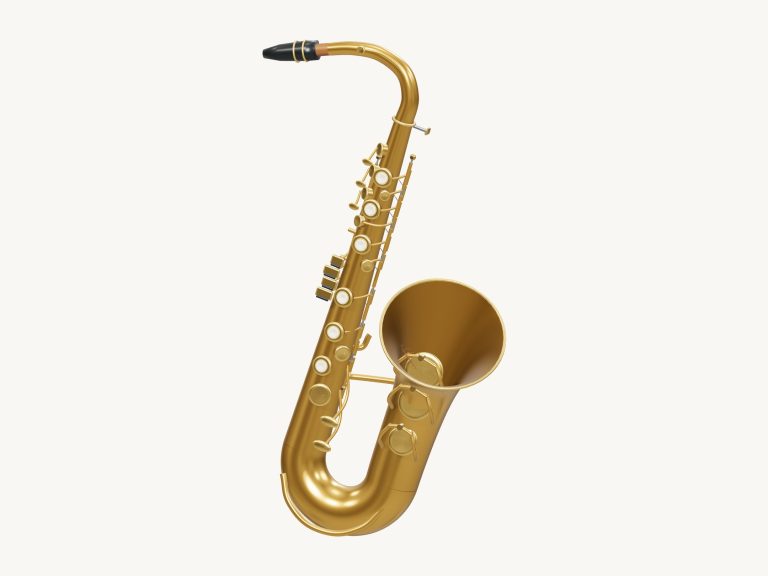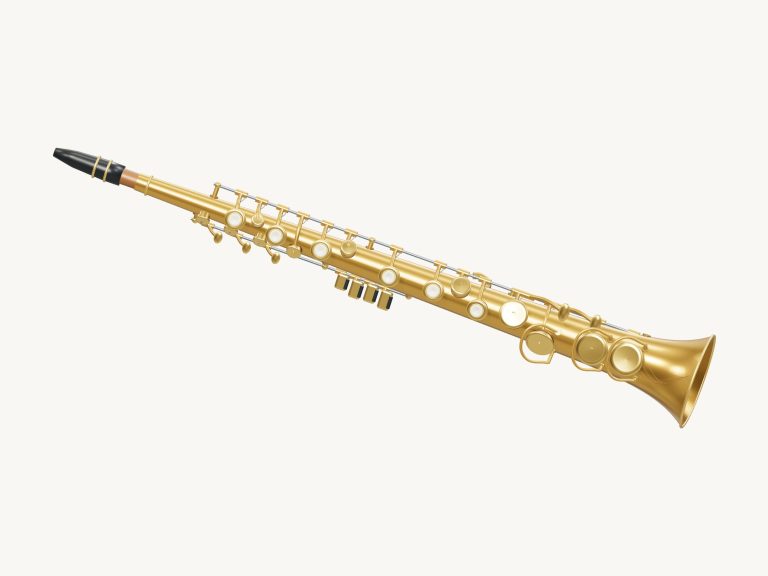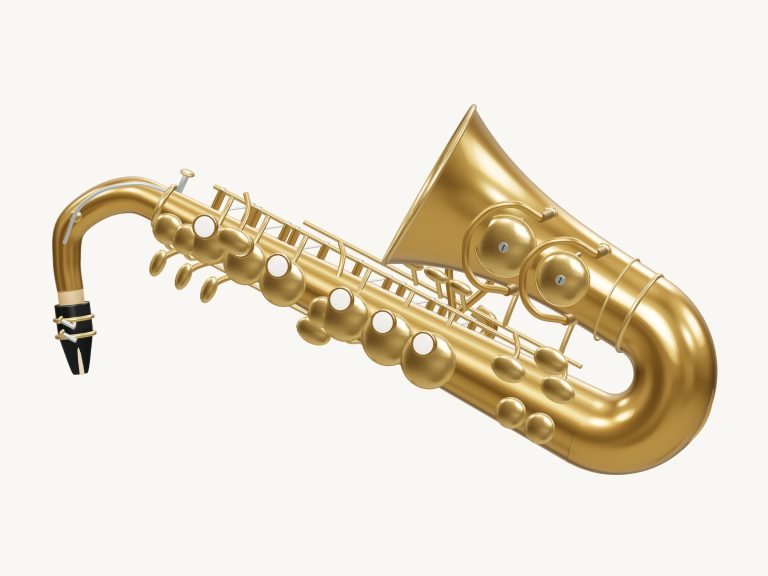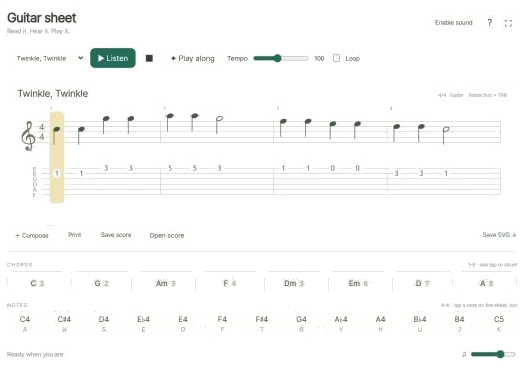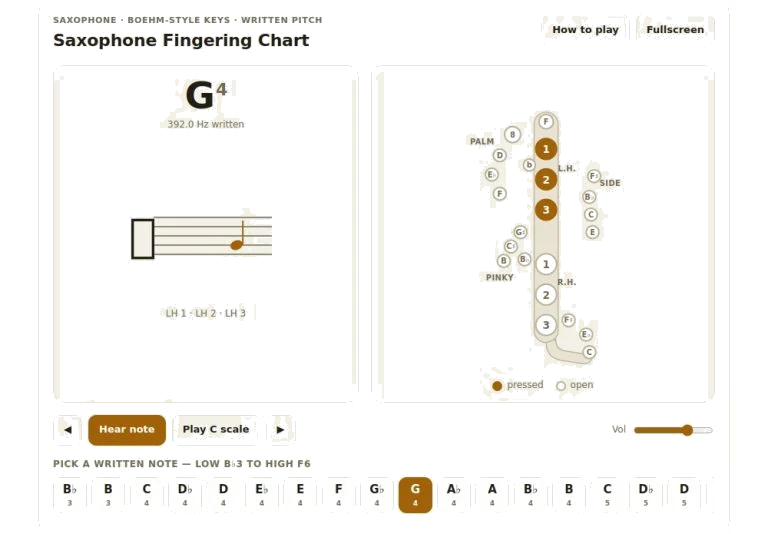
The interactive widget shows keys of standard Boehm system for saxophones on a diagram of a virtual instrument. It display relevant music notation and can be used as audio and visual guide to saxophone fingering.
Simply use your mouse/trackpad to move around notes available or switch to using your computer keyboard to play back at speed and navigate more quickley. It is intended as a way for musician to check their finger position and listen to note produced in real-time.
How to Use the Saxophone Widget
A central panel house a row of buttons corresponding to notes starting at low B flat 3 and ascending through to high F 6. Simply tap on one of these buttons and the screen will be updated automatically. Next to it is diagram of saxophone’s keys followed by note’s name, pitch (in hertz), and a musical stave with treble clef. You can see which keys is played and not, as pressed keys have a filled-in circle whereas the un-pressed ones are outlined.
This gives you visual feedback that links your physical instrument playing and more complex music theory. However, there are some dedicated ways to control widget as well, starting with the arrow buttons on either side of the transport bar that will increment and decrement the selection by one semitone, just like pressing your computer’s left/right arrow keys, while the big button labelled Hear note will trigger an audio synthesis of the selected note, no external library required nor even a microphone. The sound are created within the browser itself. There is also volume slider so you can make it louder/softer depending on where you’re listening.
There are several ways to interact with the scales and ranges within the widget. The Play C scale button plays an automatic run of notes beginning on middle C and playing up to next octave. It is a nice way to show how fingers works in standard patterns without needing to enter them manually. However, if you want to take a breather just click the button again and sound will stop.
If there is an alternative fingering available for any notes then this shows as an Alternate button. Clicking this will change the first fingering to its second alternative. This is good for tricky technical sections of music or passing notes when one fingering might work better than another.
To make it all even easier, there are keyboard shortcuts. Pressing the space bar will play back the currently selected note while keeping your selection intact. The letter A switches between alternate fingerings if applicable. The letter F makes the widget go into fullscreen mode, which gives you an expanded view of both notation and diagram. To get out of fullscreen, just click on the toggle in the toolbar or press F once more. For good measure, a help panel that shows those controls is also available via the question mark key. It’s hidden once you start interacting with the rest of the page.
It’s worth knowing how visual legend works as it will help you practice accuratly; the seven big keys numbered 1-3 are the main touch pieces that comprise the right-hand and left-hand parts respectively. The diagram shows the left hand keys on top of the right hand keys with the ‘octave’ mechanism controlled by a single key (marked number 8) using the thumb. Around the outside, there are smaller extra keys for other tones. These include side keys for certain sharps and flats or palm keys for higher notes. The filled in icons indicates precisely what mechanical part needs to be pressed down to create the chosen note.
You can double-check any tricky transposition by visualizing the fingering in both octaves and comparing them with widget. The actual written note is always the same regardless of which instrument you play (soprano, alto, or tenor saxophone). This makes it a useful point of reference for all players in the family who transpose.
You can also use the automation to play along with the sequence of C scales and see how well your muscle memory handles it. You could of also listen to audio after playing along. The relationship between black and white keys on a piano maps directly to the opening and closing of tone holes on a saxophone, and it does have clear logic that this widget helps illustrate easy.
You’ll also find that the interaction of the main stack with the octave key comes into play the further up the register you go. Almost all the main keys is used for low notes. At the top end, very few main keys are needed and many palm techniques is used. This transition gives a better idea in your mind of how instrument is laid out.
Selecting from any of the keys being played then hearing the pitch helps develop an ear for intonation as well as technical precision. Try both alternative fingerings to see which work best for your body. Your body react immediately to each input. This allows you to learn fast and iterate quickly.
Have fun playing around with the mechanics and sounds at your preferred pace.